What is it and how to do it
Roughly speaking, stamping means stamping or embossing.
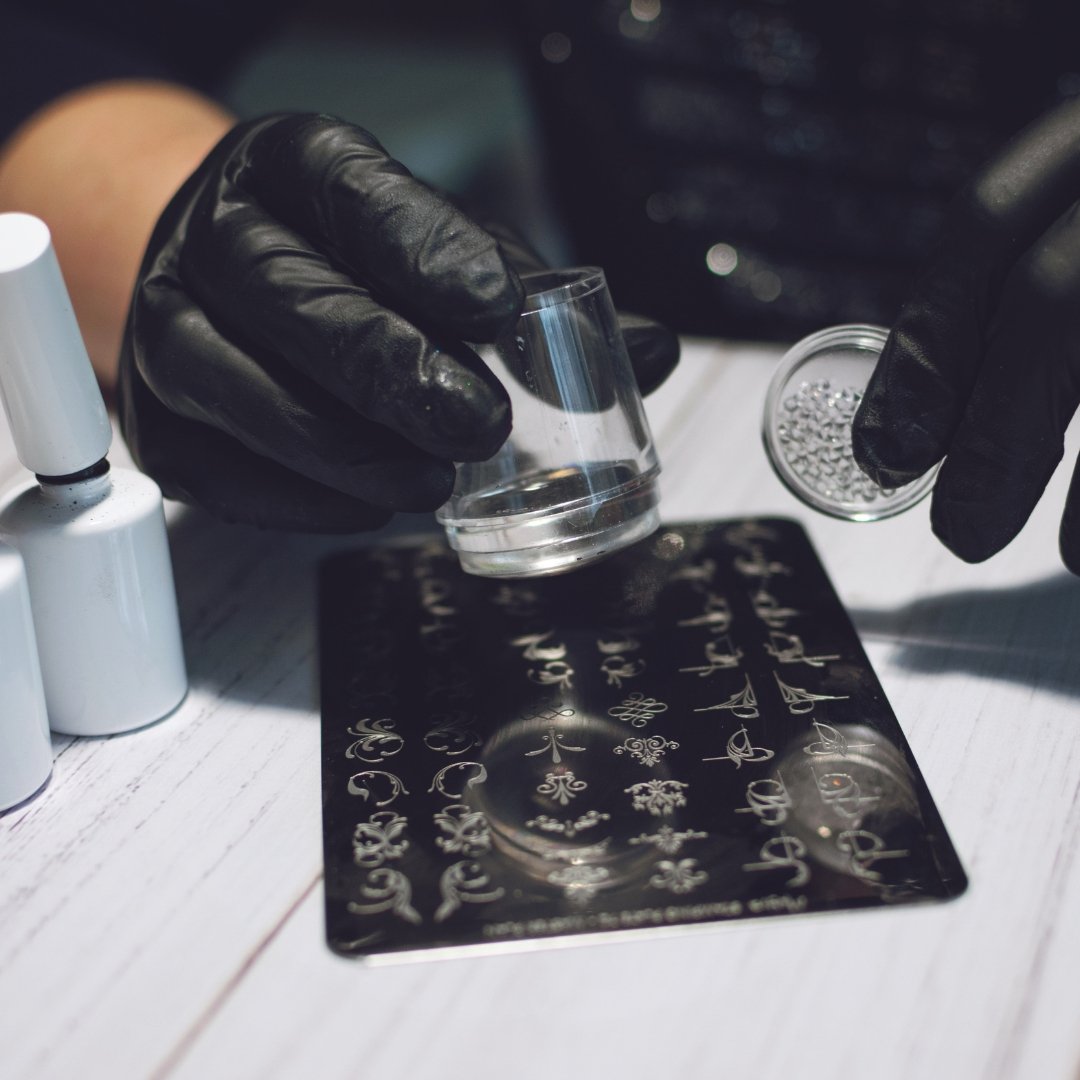
In the area of nail polish, this means that the motifs are picked up from a motif plate with milled motifs using a stamper and applied to the nail.
What do you need for a stamp?
Basically not much: A motif plate (stamping plate), a scraper (to remove excess paint) and of course the stamp (stamper).
You have to roughen some stampers beforehand, otherwise they will not absorb the color well. Old customer cards, credit cards, etc. are also suitable as scrapers.
Please make sure that the scraper does not have a metal strip, as this will scratch your records.
For this you need a nail polish or stamping varnish, which one with one layer covers well. You can really take anyone who already achieves a good result on the nail with one layer. The paint shouldn't be too runny. For this we will soon have suitable stamping polishes from Dorian Cosmetics in the online shop.
How does stamping work?
1.)You paint your nails as normal with a color of your choice. Just make sure that the base coat and the stamping color match and that the colors differ.
For a gel or acrylic modellage: apply a sealing gel with a sweat layer and let it harden.
For nail polish: Apply a quick-drying top coat and let the polish dry for about 15 minutes.
2.)Take a base (paper, cardboard) and in the meantime put everything on hand. I always have 3 - 4 cellettes, cleaner and the stamping utensils ready.
Soak two celllets with cleaner and place them on different sides. One cell is used for storing and cleaning the scraper. The other cellette to clean the stencil. I use a lint-free cellette to clean the stamper. Simply press the stamper onto the celllet and all paint residue is gone. :)
Prepares the varnish for the stamping screwed on.
3.)Apply the nail polish or stamping varnish to the edge of the desired motif.
4.).Take the scraper (or a customer card/credit card,..) and pulls the varnish over the motif - quietly a good bit further on to the other motifs. This way you make sure that you don't pick up the color splash.
Place the scraper on the cellette soaked with cleaner.
5.)Now you have to be quick, because the thin layer of paint on the plate dries very quickly. Take the stamper and start at the outer edge of the motif. Roll the stamper over the motif in one movement and practice a slight (!) pressure off.
6.)The design should now be on the stamp pad. If you are not satisfied or something is blurry (happens more often at the beginning and also later from time to time), then simply clean the pad on one cellette and clean the plate with the other cellette and rub dry with a dry cotton pad. Then from step 3.) keep working :)
7.)Now put the motif on the nails. Here everyone has to see how it is better. Place your hand and roll the stamp over it or hold your hand in the air, apply counter pressure and press the stamp onto the nail. For me it's a mix of both. Here you have to practice a bit and see how you get along better.
Place one side of the nail against the stamp and then roll over the nail in one motion.
If a nail doesn't succeed, you can carefully (!) Remove the stamping with a cotton pad and cleaner. The colored paint underneath is somewhat protected by the layer of top coat or sealer.
8.)Almost finished. Now the cuticles have to be cleaned. And the paint to be cured. Then seal everything well.
___________________
Please note that many paths lead to the goal and this is just my path. Practice a bit and find out which way is most comfortable for you. You can also start by simply stamping on a piece of paper. This will give you a feel for the stamp.
Have fun



3 comments
Vielen Dank für diese super ausführliche Erklärung.
So bekommt man es auf jeden Fall hin.
Super erklärt….danke für die ausführliche Anleitung….🥰
Danke für die tolle erklärung so habe ich es direkt verstanden, da du es es schritt für schritt erklärst